

The first crack you notice in your stucco is almost never the first crack that formed. By the time it's wide enough to catch your eye from the driveway, water has usually been working behind the wall for months.
If you bought a home built in the last decade, the odds are roughly two-in-three that the stucco was installed faster than it should have been — skim coats applied before the scratch coat cured, missing control joints, kick-out flashing left off entire elevations. This guide is the field manual I wish every new homeowner received at closing: how to tell what you're looking at, what you can fix yourself with a $40 trip to the hardware store, and when the smartest move is putting down the trowel and picking up the phone.
What Is Stucco & Why Builder Issues Happen
Traditional stucco is a cement-based plaster applied in three coats — scratch, brown, and finish — over a metal lath fastened to a moisture barrier (typically two layers of grade-D building paper or a synthetic WRB). When done right, it's one of the most durable exterior systems on the planet: Spanish missions from the 1700s are still wearing their original stucco.
In production homebuilding, crews are paid by the wall, not by the hour. That economic pressure pushes three predictable shortcuts: thin scratch coats that don't grip the lath properly, brown coats troweled on before the scratch has cured, and finish coats applied during temperature extremes the bag specifically warns against. The damage doesn't show up at the final walkthrough. It shows up around year two.
""Stucco is a 50-year material installed on a 7-day schedule. The math doesn't work.""
The three-coat system, in plain English
- Scratch coat — 3/8" base layer with horizontal scratches that give the next coat something to grab.
- Brown coat — 3/8" leveling layer that establishes the wall's flat plane.
- Finish coat — 1/8" colored or texturable top layer. This is what you see.
Common Builder Stucco Issues
Ninety percent of the calls I get fall into four buckets. Learn to recognize them and you'll know within thirty seconds whether you're looking at a Saturday project or a five-figure repair.
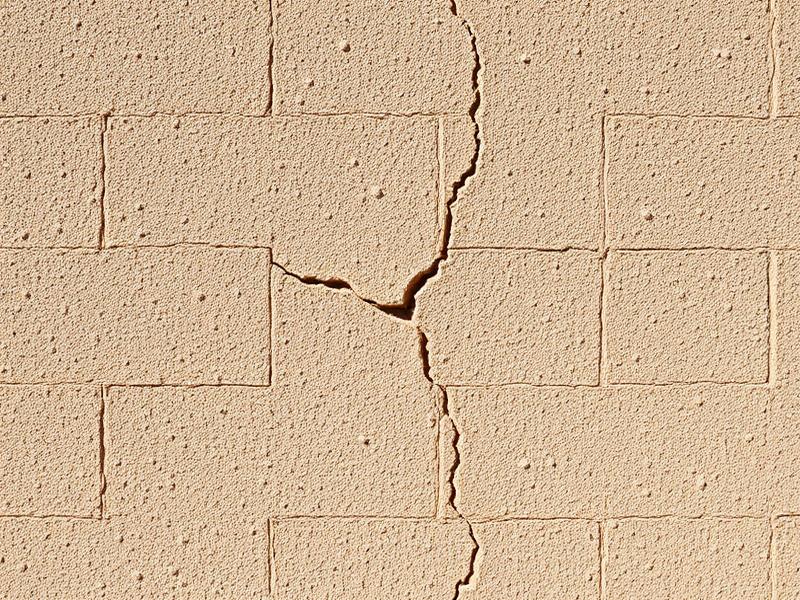
Hairline & Map Cracks
Surface cracks from shrinkage, settlement, or improper curing. Usually cosmetic but a moisture entry point.
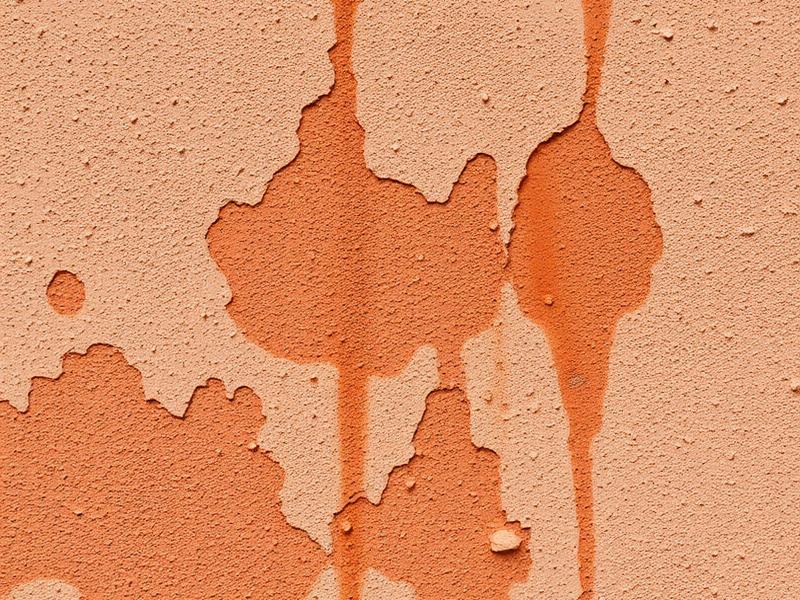
Water Intrusion & Staining
Discoloration, dark streaks, or bubbling paint signal failed flashing, weep screeds, or kick-out diverters.
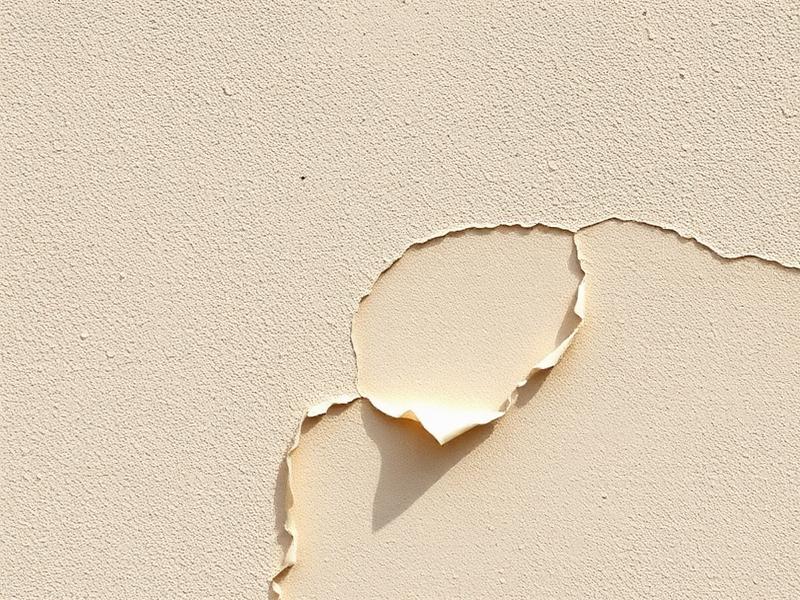
Delamination & Bulging
Stucco separates from the lath when bonding fails. Sounds hollow when tapped — never ignore it.
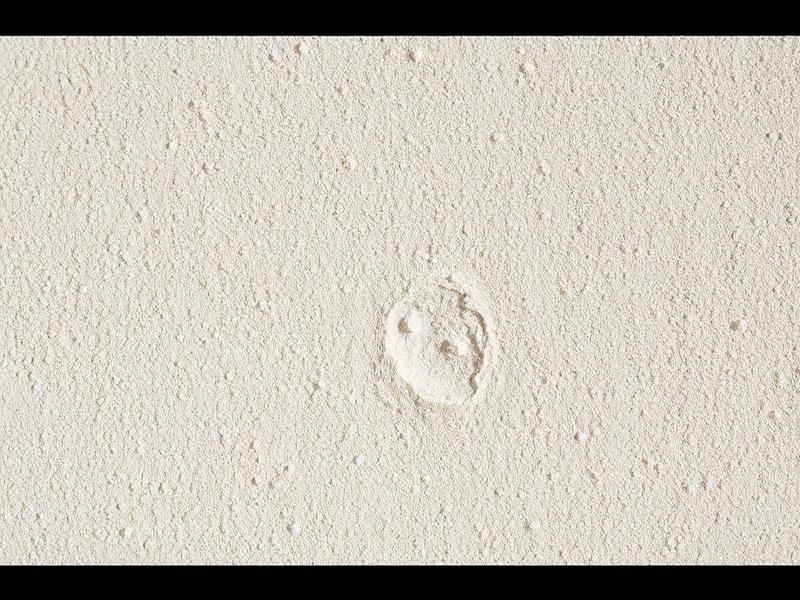
Efflorescence (White Salt Deposits)
Powdery white residue means moisture is moving through the wall and depositing soluble salts on the surface.
What's Actually Behind Your Stucco Wall
Video · 6:42
Step-by-Step DIY Repair Guides
Repair 1: Hairline Crack (Under 1/16")
- Wire-brush the crack to remove loose material; vacuum or blow out dust.
- Apply painter's tape parallel to the crack, leaving a 1/4" gap on either side.
- Load a caulk gun with elastomeric or polyurethane crack sealant (Quikrete Polyurethane or Sashco).
- Run a smooth continuous bead, then tool it flush with a wet gloved finger.
- Pull tape immediately. Let cure 24 hours before painting with elastomeric paint.
Hairline Crack Repair — Live Demo
Video · 8:15
Repair 2: Small Patch (Less Than 4 sq ft)
- Chisel out the damaged area back to sound stucco. Undercut the edges so the patch locks in.
- If lath is intact, skip ahead. If lath is rusted, cut it out and staple new galvanized self-furring lath.
- Mist the substrate. Apply scratch coat (3/8"), scratch horizontally, cure 24–48 hours.
- Apply brown coat (3/8") flush with surrounding wall. Cure 7 days, misting twice daily.
- Apply finish coat matching existing texture. Float, dash, or sponge to blend.
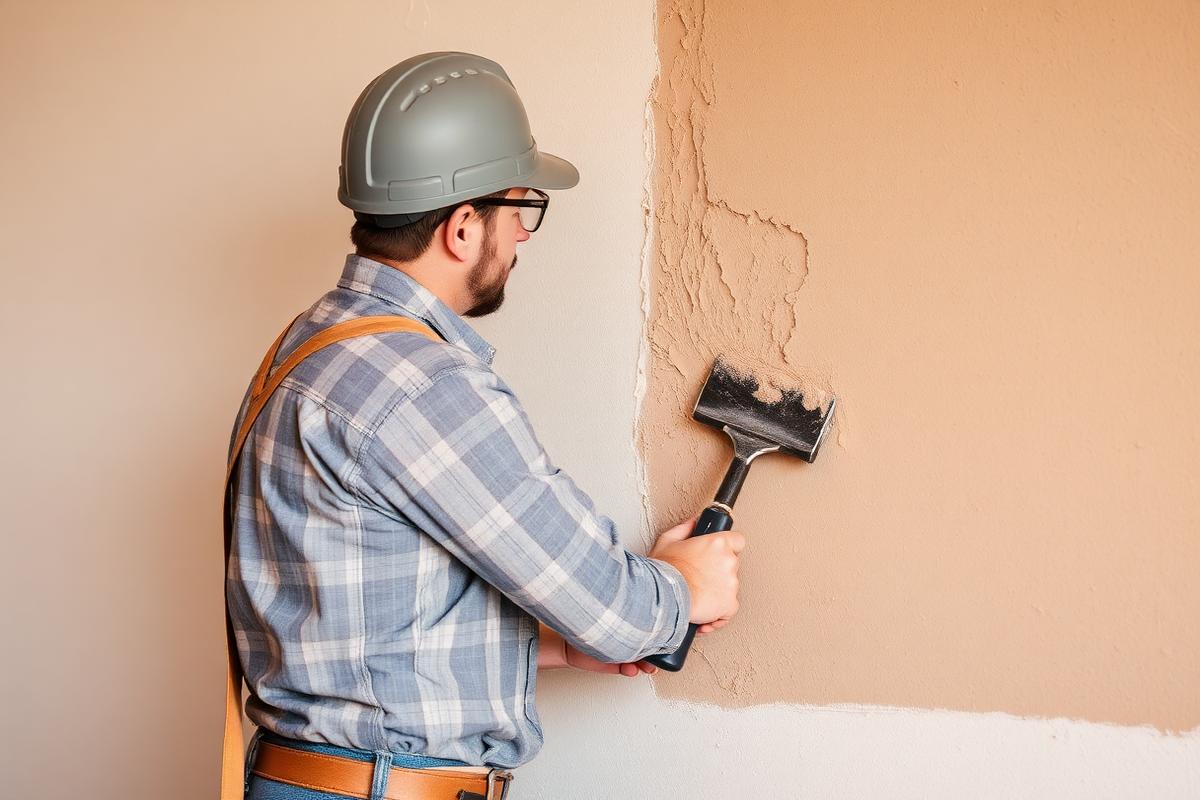
Medium Patch Repair (4–25 sq ft)
Video · 12:08
Repair 3: Sealing Around Penetrations
- Cut away cracked caulk with a utility knife.
- Clean the joint with denatured alcohol; let dry.
- Apply backer rod for joints over 1/4" wide.
- Tool a smooth concave bead of urethane sealant (NP1 or Sika 1A).
- Inspect annually — this is the #1 maintenance task that prevents catastrophic damage.
When to Call a Professional
DIY is wonderful until it isn't. Here's the line:
DIY It
- • Hairline cracks under 1/16"
- • Patches under 4 sq ft with intact lath
- • Caulk refresh around windows
- • Light efflorescence cleanup
- • Touch-up painting
Hire a Pro
- • Hollow-sounding sections
- • Active water intrusion inside
- • Cracks wider than 1/8" or growing
- • Damage around roof intersections
- • Anything above one story
2026 Stucco Repair Cost Breakdown
National averages, sourced from 2026 contractor surveys and our own quote database. Coastal and HCOL metros run 20–35% higher.
| Repair Type | 2026 Cost |
|---|---|
| Hairline crack patch (DIY) | $15 – $60 |
| Hairline crack repair (Pro) | $150 – $400 |
| Small patch (under 4 sq ft) | $250 – $600 |
| Medium patch (4–25 sq ft) | $600 – $1,800 |
| Large repair (25–100 sq ft) | $1,800 – $4,500 |
| Full wall re-stucco | $7 – $14 / sq ft |
| Whole-home re-stucco (2,000 sf) | $14,000 – $28,000 |
| EIFS conversion | $9 – $16 / sq ft |
Repair vs. Full Replacement
Spot Repair
$$Best for: < 30% of wall affected
Full Re-Stucco
$$$$Best for: > 30% damage or systemic moisture
Maintenance Tips That Actually Work
- Walk the perimeter twice a year. Spring and fall. Photograph anything new with a coin for scale.
- Re-caulk penetrations every 5–7 years. Urethane, not silicone. Silicone won't accept paint.
- Keep sprinklers off the wall. Cycle-soak is fine; daily wall-spray destroys stucco within 3–4 years.
- Trim shrubs 12" back. Airflow prevents the moss and mildew that hold moisture against the finish.
- Repaint with elastomeric every 8–10 years. Acrylic alone won't bridge new hairline cracks.
- Keep gutters clean. Overflow from a clogged downspout is the silent killer of stucco walls.
Yearly Stucco Maintenance Walkthrough
Video · 9:33
Common Stucco Myths, Busted
2026 Trends & The Future of Stucco
The industry is shifting fast. Three changes worth watching:
- Fluid-applied air barriers are replacing building paper on new construction — fewer seams, better long-term performance.
- Mineral silicate finishes (think KEIM) are gaining ground over acrylic. They chemically bond to the substrate and breathe better in humid climates.
- Drone moisture mapping with thermal imaging is making whole-wall diagnostics affordable — expect to see this offered on routine inspections by 2027.
Frequently Asked Questions
A properly installed three-coat stucco system should go 8–12 years before hairline cracks appear and 40–50 years before major work. Builder-grade stucco often shows cracking within 12–24 months due to rushed curing and missing control joints.
About the Author
Marcus Holloway
Marcus is a licensed contractor with 20 years of stucco restoration field experience across Florida, California, and the Southwest. He has personally diagnosed and repaired more than 1,800 builder-grade stucco installations.
Disclaimer: Content is for educational purposes only. Always wear PPE, follow product instructions, and consult a licensed professional for structural concerns or repairs above ground level. Cost ranges are national averages and will vary by region.